
Hall-O-Ween Night Pumpkin

Nov., 06, 2021. Free Crochet Pattern. This post does contain affiliate links.
It’s that time of the year again, where fall and Halloween, are breathing that crisp air. Mornings are briskly and nights carry you on a spooky vibe. Enjoy these morning and nights, while sipping on something warm, to create a special little pumpkin, to enjoy everything fall has to offer. Now, you can with adding this newest pumpkin into your pumpkin patch.
It’s quick and easy to work up. I literally timed myself while making this one, you will have it worked up from start to finish, in 45 minutes. This is a stash buster or even a scrap yarn project, trying to use up all the yarn — you’ll want to make this one hands down.
You can turn throw on Netflix, binge watch a show you have been dying to see, like a new tv show or that horror movie you have been dying to see, while busy stitching up this bad pumpkin. With those easy repeats locked within this pattern, you be able to stitch this up in no time, even watch a whole series.
Yea I got a question for y’all, when you do stop making pumpkins? Do you only make them from September-October or do you make them all year long? I can honestly tell you, I might not stop. But, I do have a few more I need to finish writing up and designing as well. So, yeah, I just might be making pumpkins the rest of the year, I think that will be ok.
“You can’t use up CREATIVITY. The more you USE, the more you HAVE. “ — Maya Angelou
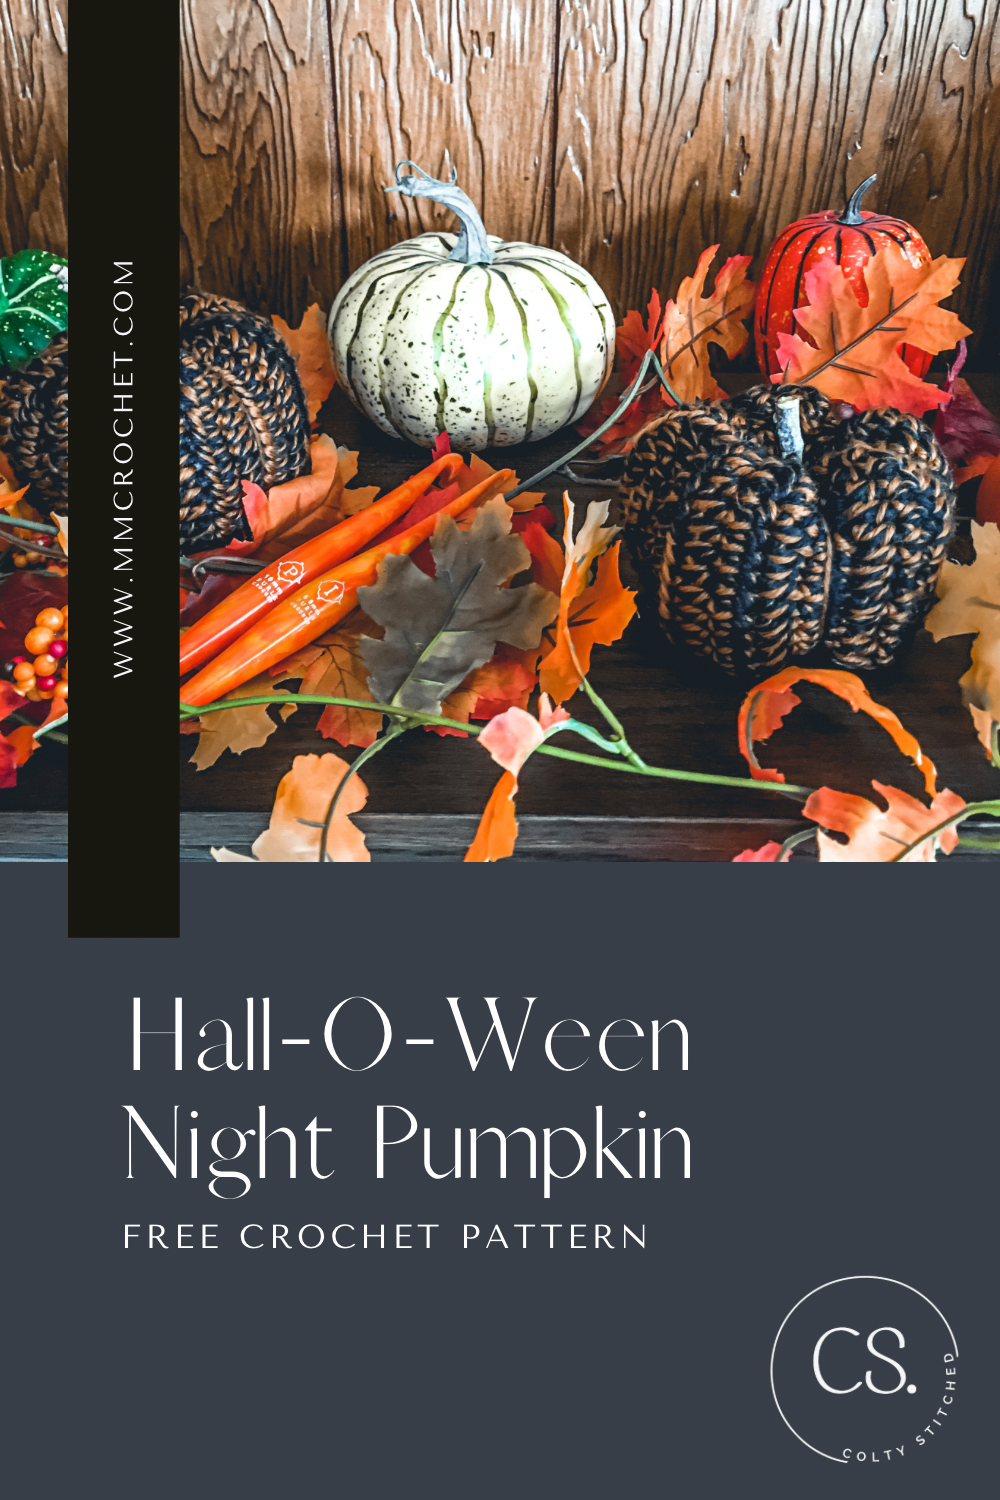
Pin it for later
I want to give a big thank you and shout out to FURLS CROCHET, for providing the materials. They brought this design to life in so many ways and couldn’t be happier.
Keep scrolling down 👇🏻for the FREE PATTERN!!
Design —
Have you ever wondered what holding 2 strands of yarn can create? This pumpkin uses double strands. It creates a bulky piece, you will fall in love. This pumpkin is constructed with using half double crochet and using a yarn under technique and using single crochet with a yarn under technique for the seam. With your double strands held together, not one will come out the same with your color scheme. You will make a rectangle, taking the 2 ends together to seam them and to form a tube. To bring more into a pumpkin shape you will cinch bottom closed first, turning inside out so your seam will be placed on the inside, stuff it and cinch your top closed. Now, comes the best part, you get shape it to form it into a pumpkin, by wrapping your yarn around 4-6 times pulling them tight to create the shape you want. You will enjoy this pumpkin.

Yarn —
I want to say thank you to Furls Crochet, for sending me their Wander Yarn for this design. They sent me Thatch and Obsidian, to design this pumpkin. This yarn is 100% acrylic based yarn in worsted weight, category 4. I am telling y’all you have to try this yarn and get yourself some. It’s super soft to the touch, making you not wanting to leave your hands. It slides off your hook like butter. It also has a very nice sheen look to it as well. But, the best feature I love about this yarn and for this design, is the SQUISH factor it beholds. One thing I want to say, it does snag with your top of your hook, so really pay attention to that. You can use my Back End Hook Pull Tutorial, to help not snag your yarn. In closing, this yarn is a new love of mine. It’s affordable $5 a skein. Also, it comes in many different amazing color options, that you will be dying to give a try.

Few of the color choices Furls Wander Yarn offers, many other colors to choose from.
Hook —
Again, I want to thank Furls Crochet for sending me Streamline Galaxy Solar Flare Swirl I/9 (5.5mm), for this design. The Swirl Hooks are my favorite completely. They are medium lightweight, making you soar through your projects in no time. They don’t cramp my hands, leaving me crocheting for hours. They are also my big Eye Candy, by the blending of colors, creating that gorgeous Swirl. They came in different color options and in 12 different sizes (G-Q)(4mm-15mm). You will fall in love, like I have over the years. I have using Furls Crochet Swirl Hooks since 2017 and I won’t stop.

Furls Crochet Streamline Zodiac Hooks.

Furls Crochet Solar Flare Hook (now discontinued)
Now …. Let’s get into what you came here for … HALL-O-WEEN Night Pumpkin ….
Disclosure
This pattern is for personal use only. Don’t sell or recreate or pass off as your own, as this pattern still belongs to us. Don’t copy or paste, in portion or full, as this pattern still belongs to us. Don’t translate this pattern in another language or use for teaching, without contacting for permission to do so.
Skill Level —
Beginner +
Gauge
10 rows x 14 stitches = 4” square
Measurements Before Seaming
Width ~ 6.25”
Length ~ 10”
Measurements After Seaming
Width - 5”
Length - 6”

Materials
Hook — I/9 (5.5mm) or hook to obtain gauge
Yarn — Worsted Weight #4 of any kind in the same weight category (Sample Uses — Furls Crochet Wander 100% acrylic worsted in Obsidian and Thatch)
Total Yardage ~ 50-60yds
Other Materials Needed
Scissors
Stitch Markers (optional)
Tape Measure
Tapestry or Darning Needle (cinching and seaming)
Polyfil (for stuffing, 2-3 handfuls)
Stick or Cinnamon Stick (placing on top of pumpkin)
Glue Gun (optional)(for keeping the stick or cinnamon stick in place)

Abbreviations/Stitches Used
Ch: chain
HDC: half double crochet
SC: single crochet
Slst: slip stitch
(): stitch count
YU: yarn under
YO: yarn over
**: special stitch
FO: fasten off
Special Stitches
HDC with YU: to being this stitch, YO (as normal), insert your hook into indicated stitch, this part instead of YO you’re going to YU (here your hook will on top of your yarn and the yarn under the hook), pull up a loop (3 loops on your hook), YO (as normal) and pull through all three loops. You have completed your stitch.
SC with YU: to begin this stitch, insert your hook into indicated stitch, YU (here your hook will be on top of your yarn and the yarn under the hook), pull up a loop (2 loops on your hook), YO (as normal) and pull through both loops. You have completed your stitch.
Pattern Notes
US Crochet Terminology used.
Ch’s don’t count as a stitch.
This pattern is worked in turning rows.
You will holding 2 strands throughout the pattern, even when you are cinching and shaping your pumpkin.
You can decide which ends you want facing on the outside after seaming up and which color formation you like the best, to make this happen you will either have your ch side on the back of the last row or have your ch side on the front of the last row, than seam it up.

Now … We can Begin …
Pattern Time …
Start by holding 2 strands and Ch21
R1: in 2nd from hook *HDC* and *HDC* in each remaining Ch. (20)
R2: Ch1 and turn, *HDC* in same stitch and *HDC* in each remaining stitch. (20)
R3-24: Repeat R2.
Don’t FO here. Now we will move onto seaming up your pumpkin.

R1-5 completed.

R1-12 completed.

R1-24 completed.
Seaming
Here you are going to be bringing both ends together to create a tube. There is no Wrong Side or Right Side, it’s all in your choice on what color scheme you want showing.
Ch1 and turn, bring the other end up, going into both side, *SC* through each stitch (20), FO and leave a long tail ~5”. Move onto cinching bottom closed.


Cinching BottomClosed
Thread your yarn onto your needle, weave in and out of the top of each row, finishing back into where you started, unthread your needle and pull on your tail tight to bring it together. Secure by tying a few knots. You don’t need to weave in your ends, just leave on the inside of your pumpkin

Turn pumpkin inside out (seam should be on the inside) and STUFF your pumpkin. Now, you can move onto cinching top of pumpkin closed.

Cinching Top Closed
Use Double Strand cut ~ 5-6” long tail
Thread your yarn onto your needle, weave in and out of the top of each row long the top, finishing back into where you started, unthread your needle and pull on both tails to bring it together, closing the top. Secure by tying a few knots. Weave in your ends. Now, move onto to shaping your pumpkin.
Shaping your Pumpkin
With holding 2 strands together cut about 30-32” long tail
Tread your needle, start by poking your need through the bottom out through the top, warp your yarn over your pumpkin, poke needle back through the bottom out through the top, pull tight (also pull tight on the strand hanging out the bottom), warp yarn again around your pumpkin, poke through the bottom out through the top, at this point you’re going to keep warping evenly around your pumpkin in the same process, for a total of 4-6 warps, having a total of 4-6 bumps on your pumpkin.
To finish, your needle is still out the top, simply poke needle back through the top out through the bottom.
Tie a few knots to secure. Unthread needle.
Weave in your ends. Now, you can poke a stick or cinnamon stick in the top. You can also glue the stick or cinnamon stick to the top of your pumpkin, to keep it in place.


Don’t forget to pin it for later!!
Final Words
Your new Hall-O-Ween Night Pumpkin is complete. Thank you for taking the time by stopping by to make this. I hope you enjoyed making your new pumpkin. I literally can’t wait to see what colors you choose to make your pumpkin in.
When sharing, don’t forget to tag me on Facebook (@coltystitched) and Instagram (@coltystitched), using #coltystitched and #hall-o-weennightpumpkin, to have a chance to be featured on our stories or feed.
If you have any questions that may arise, please don’t hesitate to contact me at hello@mmcrochet.com, I am here to help.
Disclosure
Please don’t copy or paste any portion of this pattern in parts or full, as it’s strictly prohibited. Please don’t recreate, redistribute, or sell this pattern off as your own, as it belongs to us. Please don’t reuse, recreate or sell any photos contained in this pattern, off as your own, as they belong to us. Don’t translate this pattern in another language without permission from us. Don’t use this pattern for any educational purposes without having permission from us. You may sell what you make from this pattern, but I do encourage you link back to our website: mmcrochet.com to credit us as the designer.